4 Upload and View Files in a VoiceThread Presentation
- Navigate to https://voicethread.psu.edu/
- Log in using your PSU user ID and password.
- Create a new VoiceThread from any VoiceThread page by clicking on the “Create” button at the top.

- The next screen will prompt you to add files. You can either:
- drag your files from your computer and drop them onto the Create page. Those files will upload and process automatically.
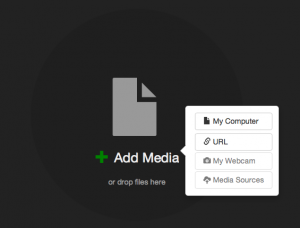
- click on “Add Media,” select “My Computer,” and then choose your files.

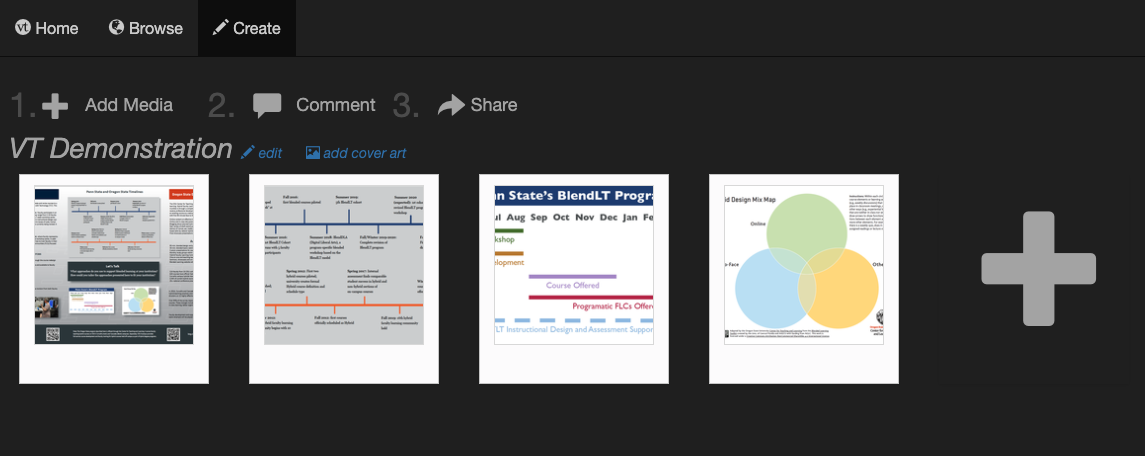
This will add VoiceThread “slides” to your presentation. Each file you upload will be one “slide.”

NOTE: You can drag and drop these slides to change their order.
- Add supporting files to your recorded presentation for your audience to view and comment on:
- The slides you used to record your presentation
- Images that support or are included in your presentation (including zoomed-in images from your poster)
- A references page
- There are a number of types of files you can upload to your presentation:
- Video files (.mp4, .mov)
- Image files (JPEG, GIF, PNG, and BMP)
- Document files (DOC, DOCX, PDF, ODT, XLS, XLSX, and ODS)
- Presentation files (PPT, PPTX, Keynote, ODP, and PDF)
NOTE: When you upload a presentation file, each slide (or page for PDF files) will upload as a separate slide in VoiceThread.
- To view your presentation, click “Comment” at the top of the page.

- Use the arrows at the bottom right of the page to navigate through the files (slides) that you added to your presentation.

- Press the play button at the bottom left of the screen to play any presentation videos.


